Free shipping on USA orders over $129!
“There is no royal road to the multiplication table; it must be learnt by heart. This is a fact which faces every teacher of elementary arithmetic, and which each must prepare for in the best way possible.”
The Teaching of Arithmetic to Young Children, p. 10
These words were spoken by Irene Stephens, the head of the mathematics department for Charlotte Mason’s school. The term “royal road” means an easy path—one free from any difficulty. So, how do we prepare the learning of multiplication tables “in the best way possible”? As always, Charlotte Mason had a plan.
Today, we’re going to take a look at Charlotte’s approach to learning the multiplication tables and when to advance to the next table or new concept. You probably won’t be surprised to hear that Charlotte’s approach to multiplication facts and written tables is distinctive. This is no “kill and drill,” rather, her “best way possible” allows a child to discover patterns, investigate how numbers behave and relate with each other, while also advancing certain ideas—such as multiplication as repeated addition or division as the complement of multiplication.
Begin with the idea of multiplication as repeated addition
You will need a slate or gridded paper for yourself as well as a slate for each child. Your child will also be using his coin bag full of pennies and dimes.
To begin, we will reinforce multiplication as repeated addition through simple, interesting problems using coins and other concrete objects.
You will be writing on the slate until you instruct your child to do so. We begin with very simple questions where knowing the multiplication table isn’t necessary.
- Say: John had 2¢ and a friend gave him 2¢ more. How many cents had he then? (4¢)
- Write on the board: 2 + 2 = 4
- Now ask: How many times do we have 2 cents? (2 times)
- Ask: If 3 children had 2¢ each, how much had they all together? (6¢)
- Write on the board: 2 + 2 + 2 = 6
- Ask: How many times do we have 2 cents? (3 times)
- Say: Macy bought 4 candies at 4¢ apiece. How much did they cost all together? (16¢)
- Write on the board: 4 + 4 + 4 + 4 = 16
- Ask: How many times do we have 4 cents? (4 times)
- Say: You bought five apples at 7¢ apiece. How much did they cost all together? (35¢)
- Write on the board: 7 + 7 + 7 + 7 + 7 = 35
- Ask: How many times do we have 7 cents? (5 times)
- Say: Jack saved 5¢ every day for 3 days. How much did he save in total? (15¢)
- Write on the board: 5 + 5 + 5 = 15
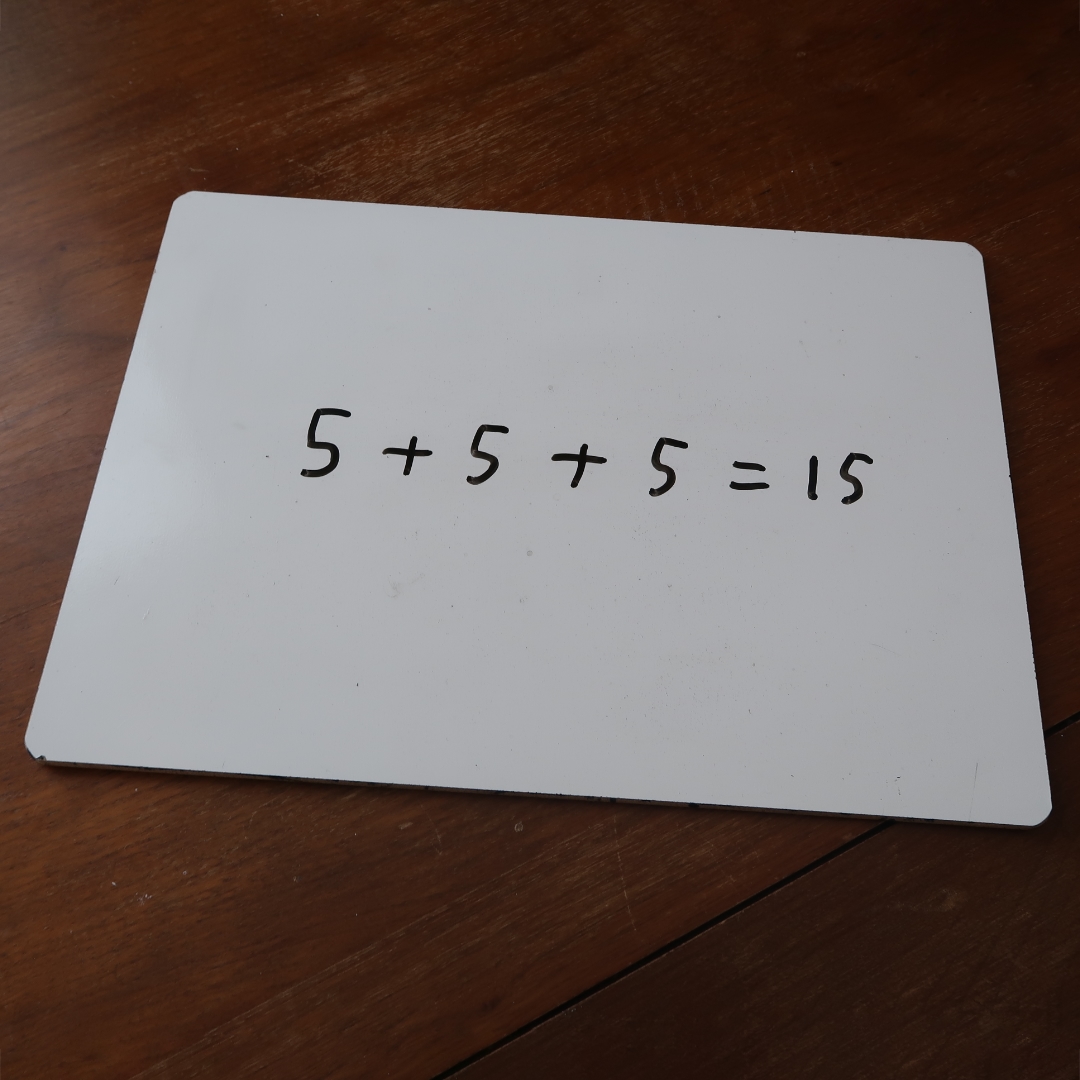
- Ask: How many times do we have 5 cents? (3 times)
Introduce the times “x” symbol
Begin by stating: We can write this in a shorter way. Let’s take a look at a problem we’ve done before:
- Say: You bought five gumballs at 2¢ apiece. How much did they cost all together? (10¢ or 1 dime)
- Write on the board: 2 + 2 + 2 + 2 + 2 = 10
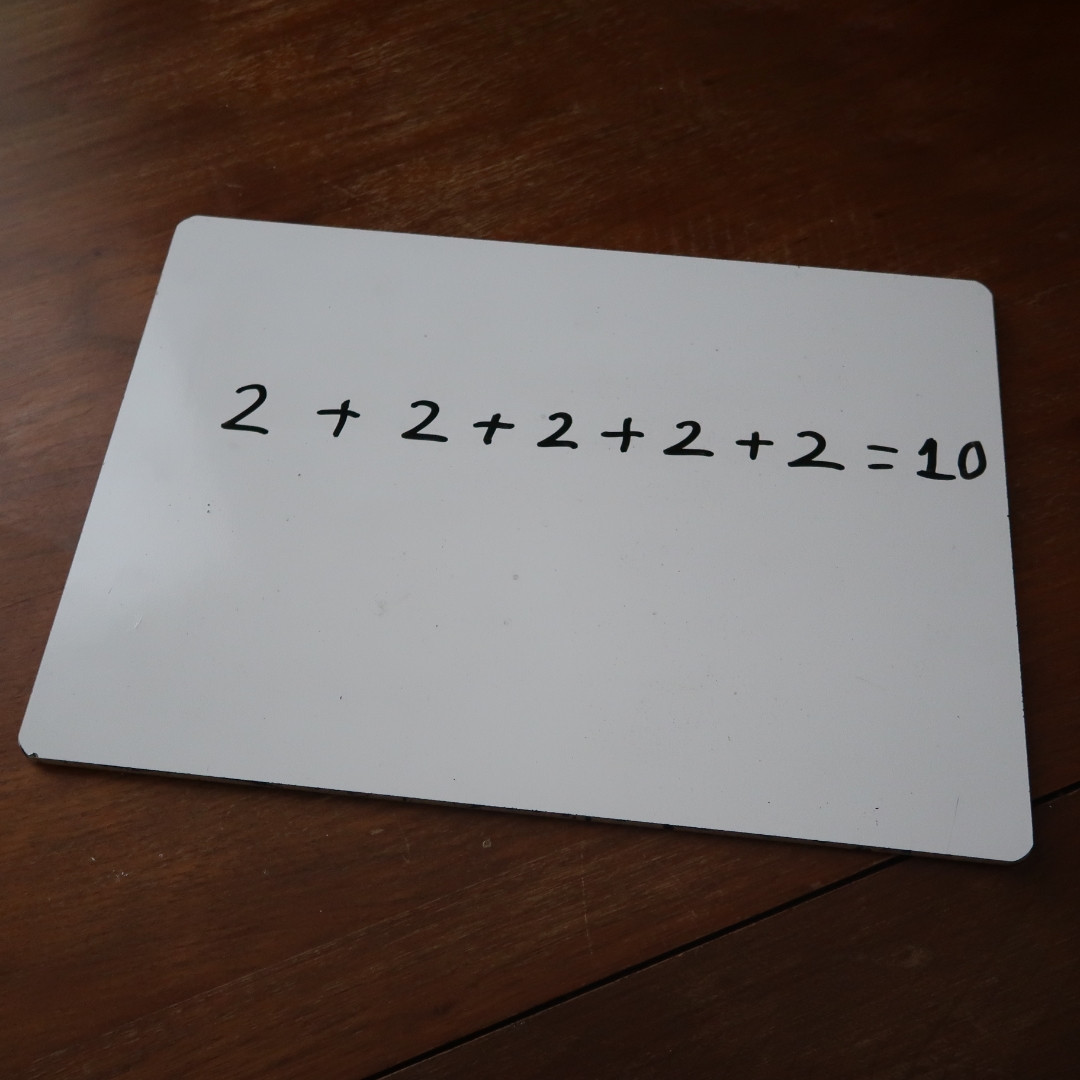
- Ask: How many times do we have 2 cents? (5 times)
- Explain: We can write it this way: 2 × 5 = 10
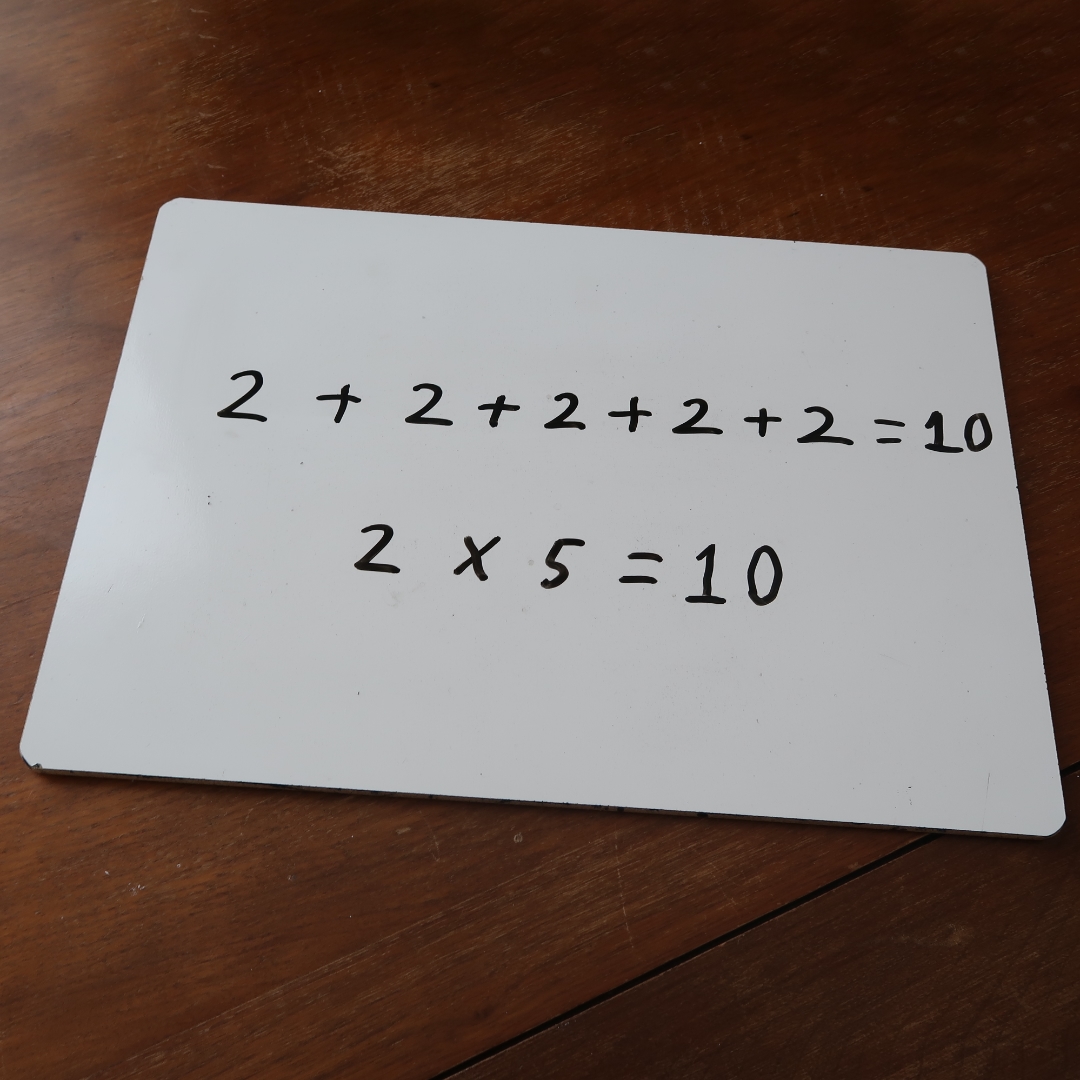
- Point to or circle the “× 5.” Tell your child that the symbol means “multiplied by 5 “—that is, each of the quantities is to be taken 5 times, so that 2 × 5 means five twos.
- Explain: The sign “×” is read multiplied by and means the first is to be multiplied by the second; so “2 × 5 = 10” shows that 2 multiplied by 5 = 10.
- Also explain: The “ ×” sign may also be read times. 2 x 5 shows 2 is taken five times.
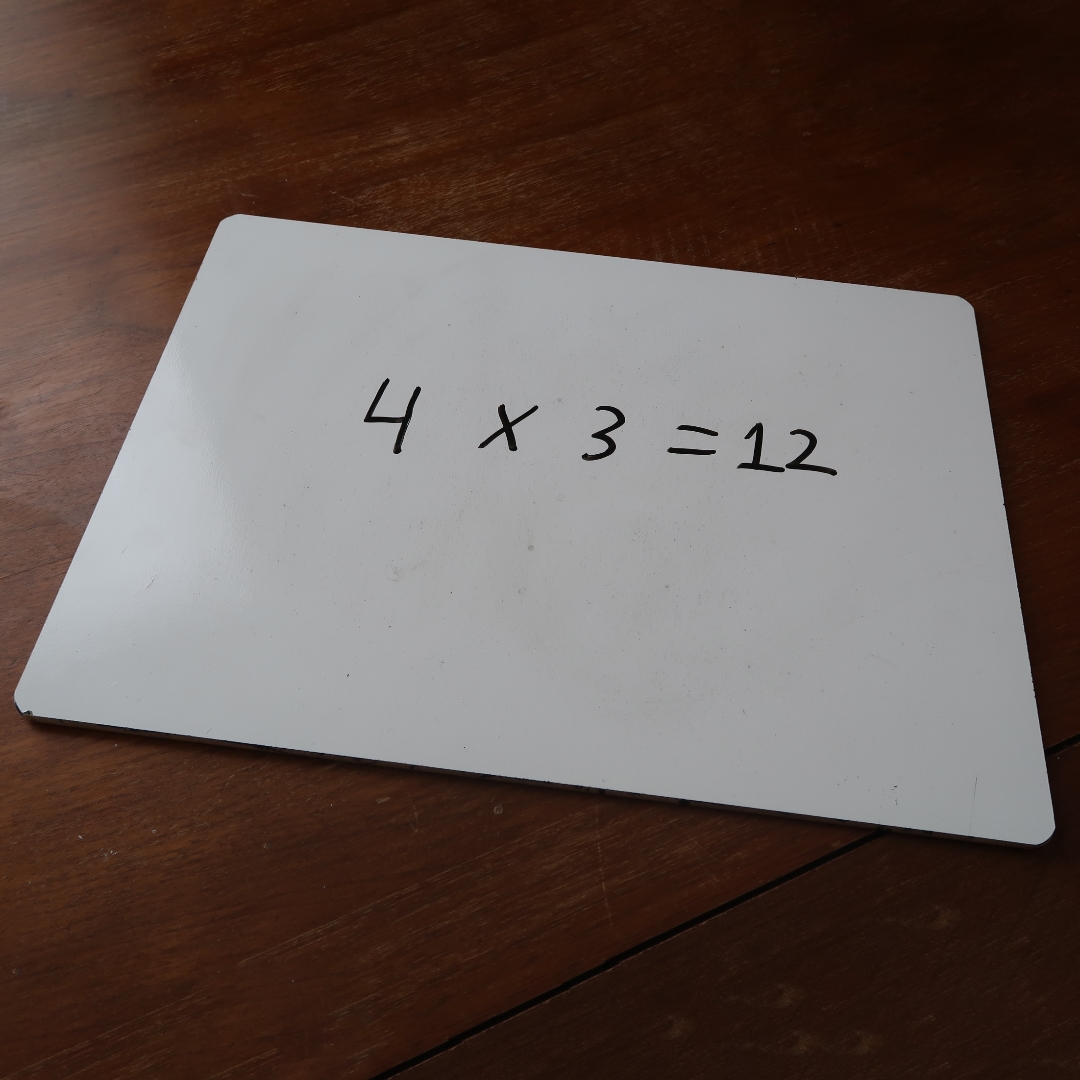
- So, 4 × 3 would mean 4 multiplied by 3 = 12, or 4 times 3 or 4 taken 3 times.
Now have your child write and work a few sums on his slate using multiplication sign, then have him read the entire multiplication sentence.
- If 4 children had 5¢ each, how much had they all together?
- Gumballs cost 2¢. How much must you pay for 6 gumballs?
- 3 girls have 3 ribbons each. How many ribbons have they all together?
Answers
Tip: Your child may word these in different ways. As long as the wording and answer are correct, it does not have to specifically match the wording below.
- 5 × 4 = 20; i.e., 5¢ taken 4 times equals 20¢
- 2 × 6 = 12; i.e., 2¢ times 6 equals 12¢
- 3 × 3 = 9; i.e., 3 multiplied by 3 equals 9 ribbons
Construct a multiplication table using concrete objects
Step 1: Construct the table
Remember that concrete objects are used to explore ideas, prove facts, and build a comfort level working with a concept. Children progress naturally from working in the concrete to mental images to more abstract work, but each child will progress at her own rate.
To solidify understanding, you and your child will make a simple multiplication table using concrete objects in order to see its rationale before creating written tables.
Charlotte Mason tells us,
The child may learn the multiplication-table and do a subtraction sum without any insight into the rationale of either. He may even become a good arithmetician, applying rules aptly, without seeing the reason of them; but arithmetic becomes an elementary mathematical training only in so far as the reason why of every process is clear to the child.
Home Education, pp. 255, 256
Say: Let’s take our coins and make a multiplication table for 2. We’ll make 10 rows of coins with 2 coins in each row. Let your student read down the column of coins and answer as you guide him:

- 2 and 2 are (4),
- and 2 are (6),
- and 2 are (8),
- and 2 are (10),
- and 2 are (12),
- and 2 are (14),
- and 2 are (16),
- and 2 are (18),
- and 2 are (20).
Ask questions that cover the lines of the table out of order. Such as:
- How many 2s are in 16? (8) Remark: So it is right to say 2 x 8 = 16.
- If a paperclip costs 2¢ each, how much would 6 paperclips cost? (12¢)
- 2 x 4 = (8)
- 2 x 3 = (6)
- 2 x 7 = (14)
- How many 2s in 14? (7)
- How many 2s in 6? (3)
- How many 2s in 18? (9)
- 2 taken 8 times? (16)
- 2 taken 2 times? (4)
Written Table
Now you are going to help your child construct a written multiplication table. The way we do this will act as a tool to understanding the rationale behind the table. Again, you will want your slate and gridded math notebook. These will be used in the horizontal position. We will be taking each number here up to x 10. But you can decide if you’d like your child to learn up to x 12, which comes in handy when working with measures.
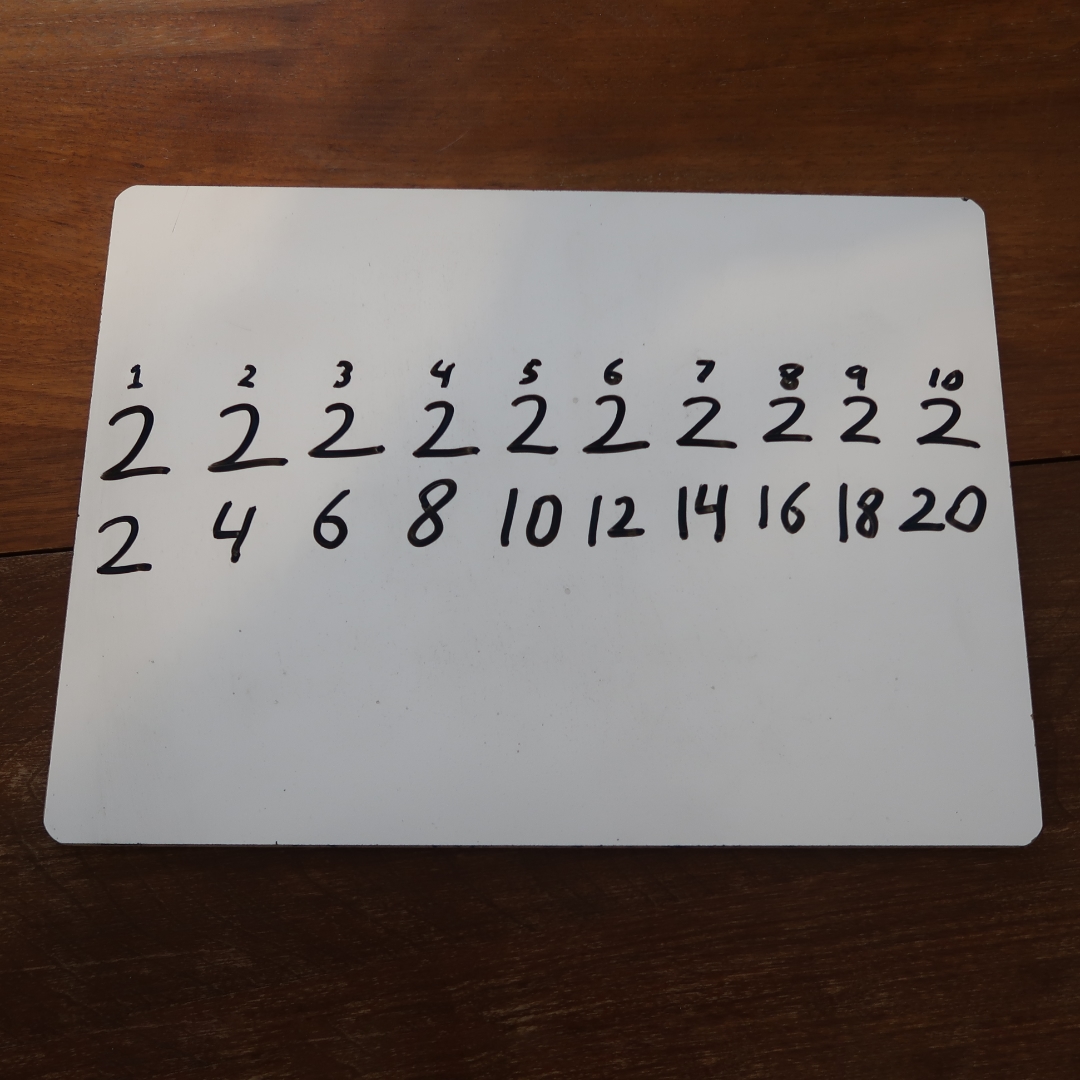
Here is a finished multiplication table for 2. A multiplication table in a Charlotte Mason math lesson is formatted like several vertical equations in a row, rather than a grid such as you may have learned in elementary school. Notice that the multiplier is written smaller than the multiplicand, in order to focus attention on the main number of the particular table.
Now, let’s look at the step-by-step process for writing a multiplication table. You will make the first table for your child to see.
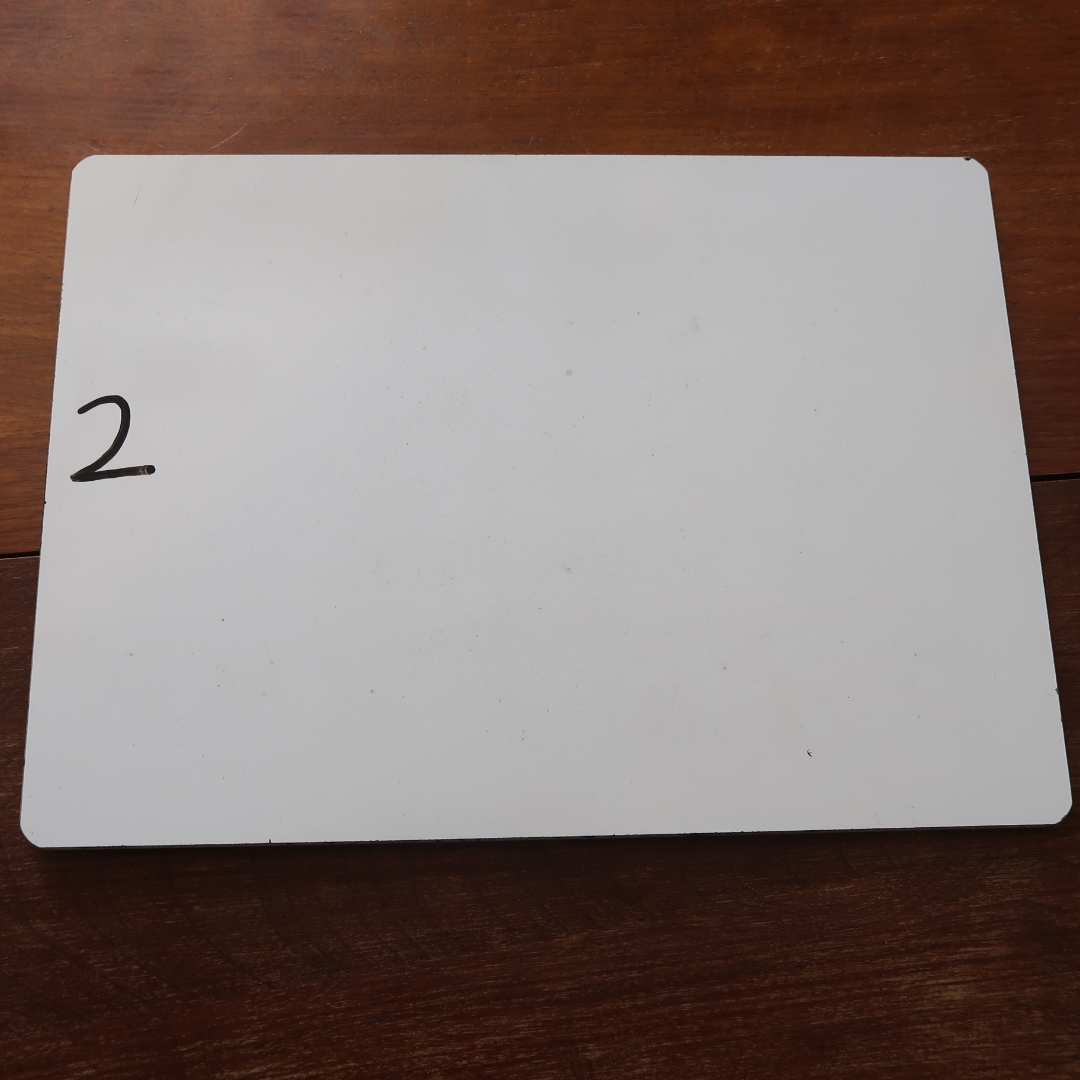
Write down the numeral 2 on the (horizontal) slate or graph paper leaving room both above and below:
Ask: How many 2s have we? Child answers: 1
Write a small 1 above the 2:
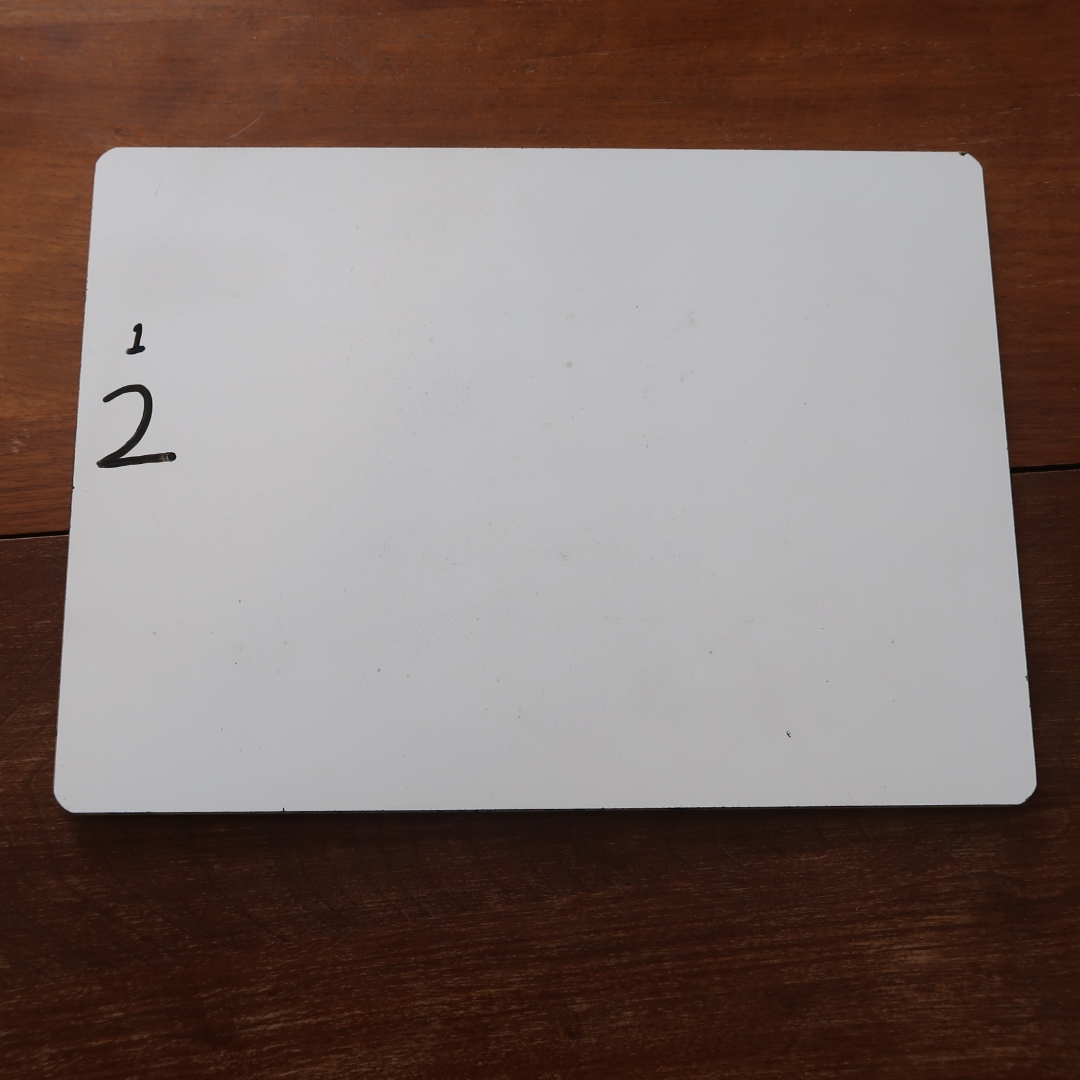
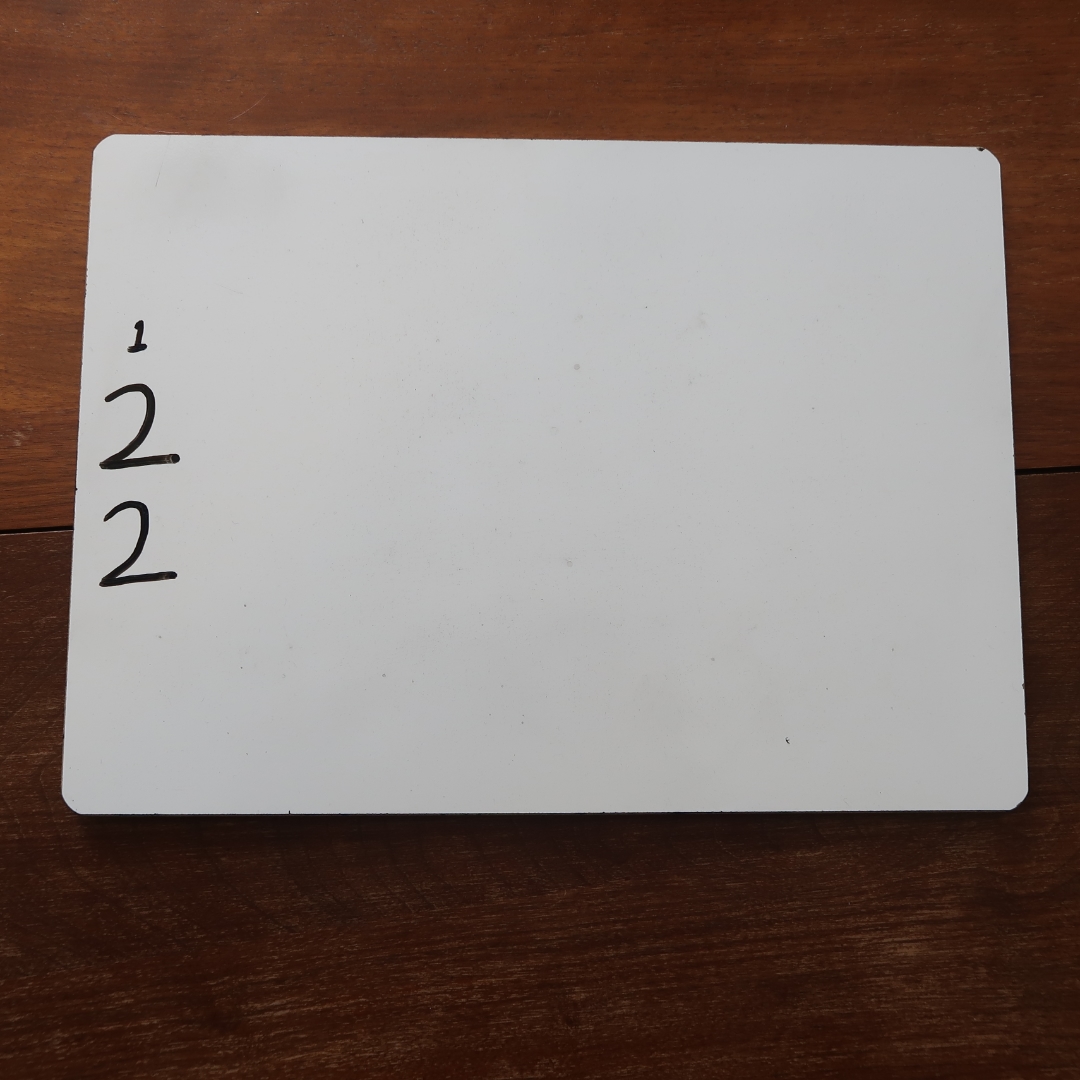
Ask: One 2 is how many? Child answers: 2
Write a 2 below:
Next write another 2 beside the first one.
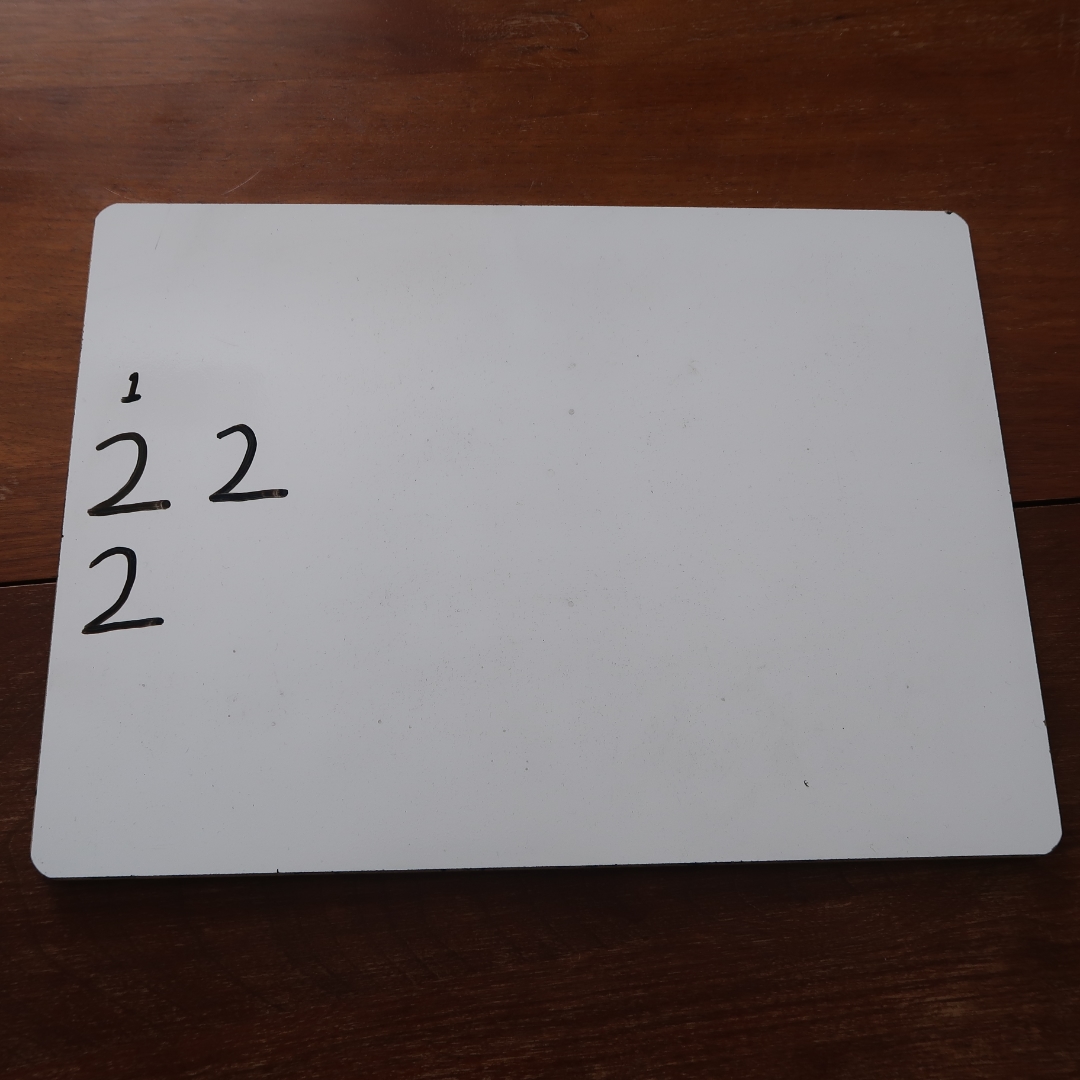
Point to the middle line and ask, How many 2s have we? Child answers: Two 2s. Write a small 2 above the second 2:
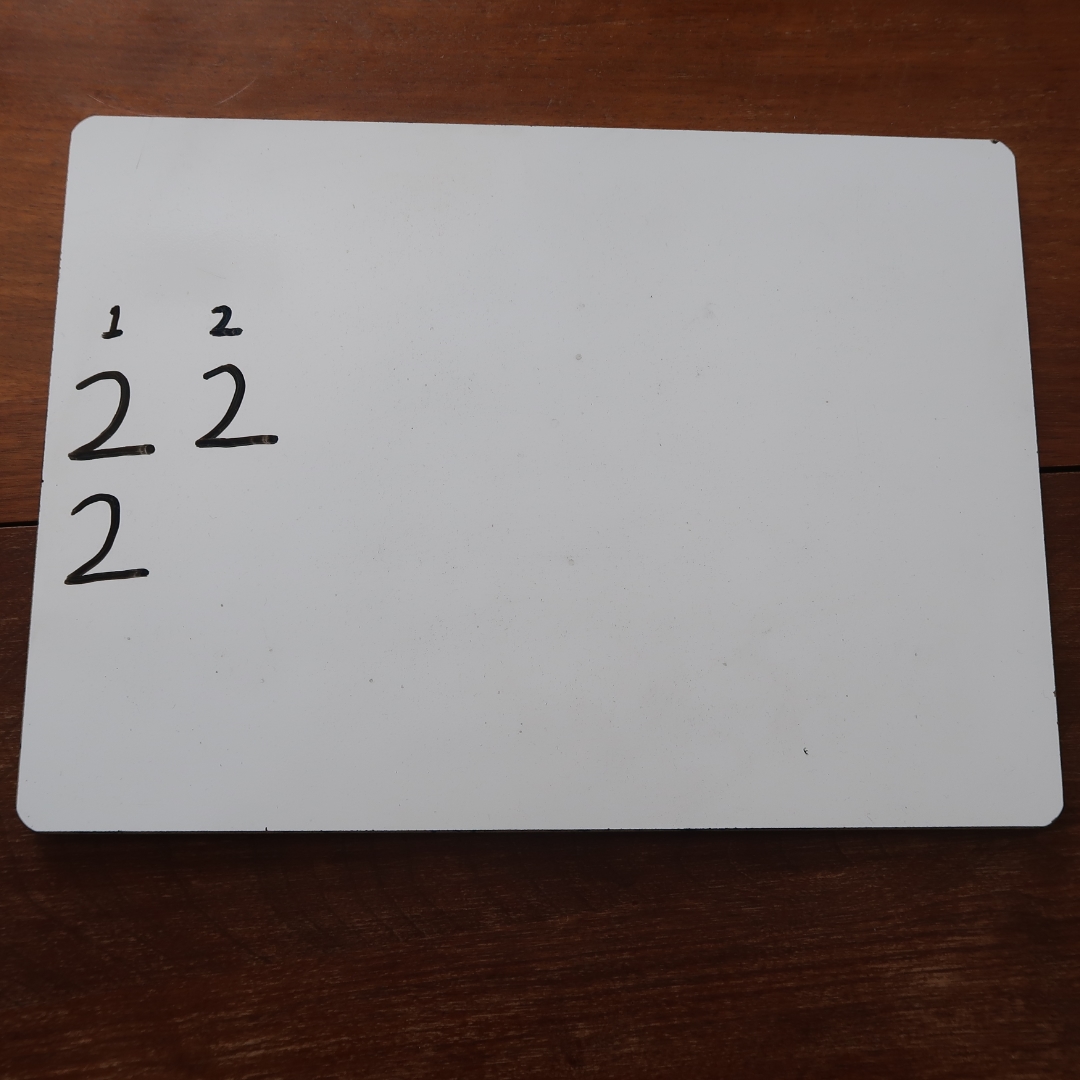
Ask: How much is two 2s? Child answers: 4. Write 4 underneath the second 2.
Now add a third 2 to the middle line:
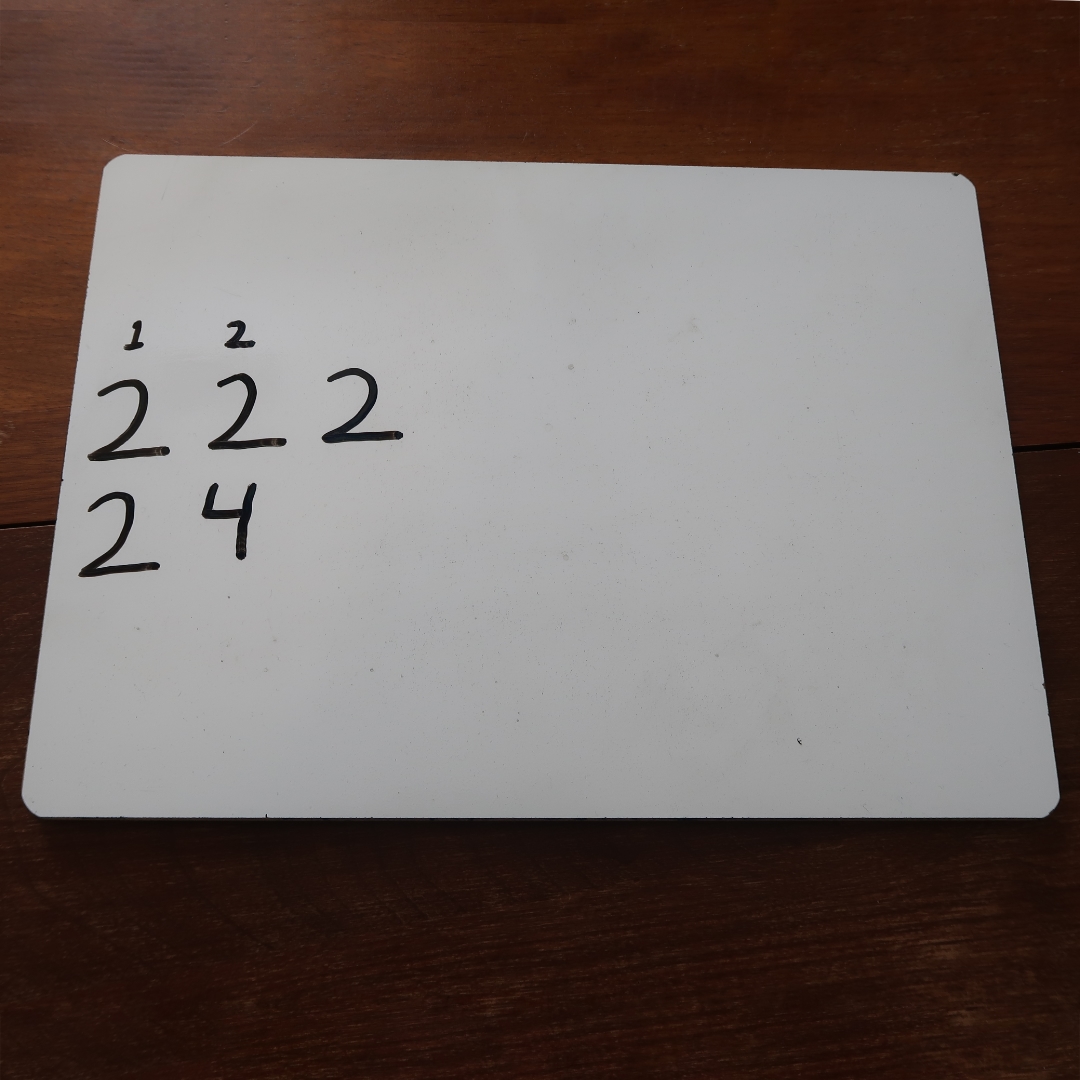
Say something like, Having three 2s, or 2 “three times,” we now have how many all together?
Child answers: 6
Remember, if, at any time, this is not clear, get out objects such as pennies or beans to show it in the concrete.
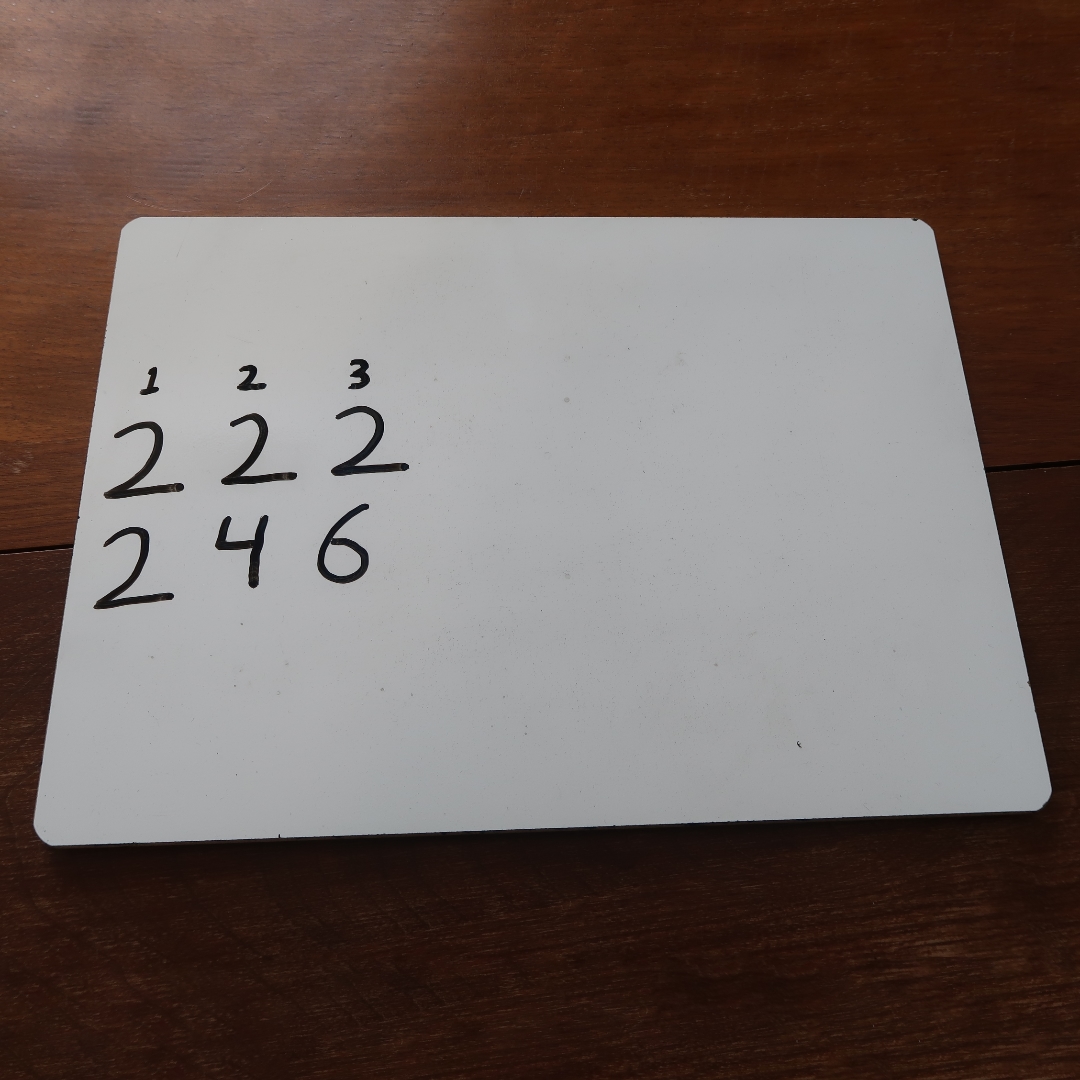
Continue in the same way until the whole table is written.
Step 2: Say the table through and write it
Once the entire multiplication table for 2 is constructed, give your child a few minutes to look at it and try to visualize it in his head (it will remind you a lot of Picture Study, where a child looks at a painting until it hangs in the gallery of his mind); then have him say it through several times: One 2 is 2, two 2s are 4, three 2s are 6, four 2s are 8, etc.
Do you notice how the learning of the multiplication tables somewhat resembles picture study?
Erase a few numbers and ask your child to fill them in. Here’s an example:
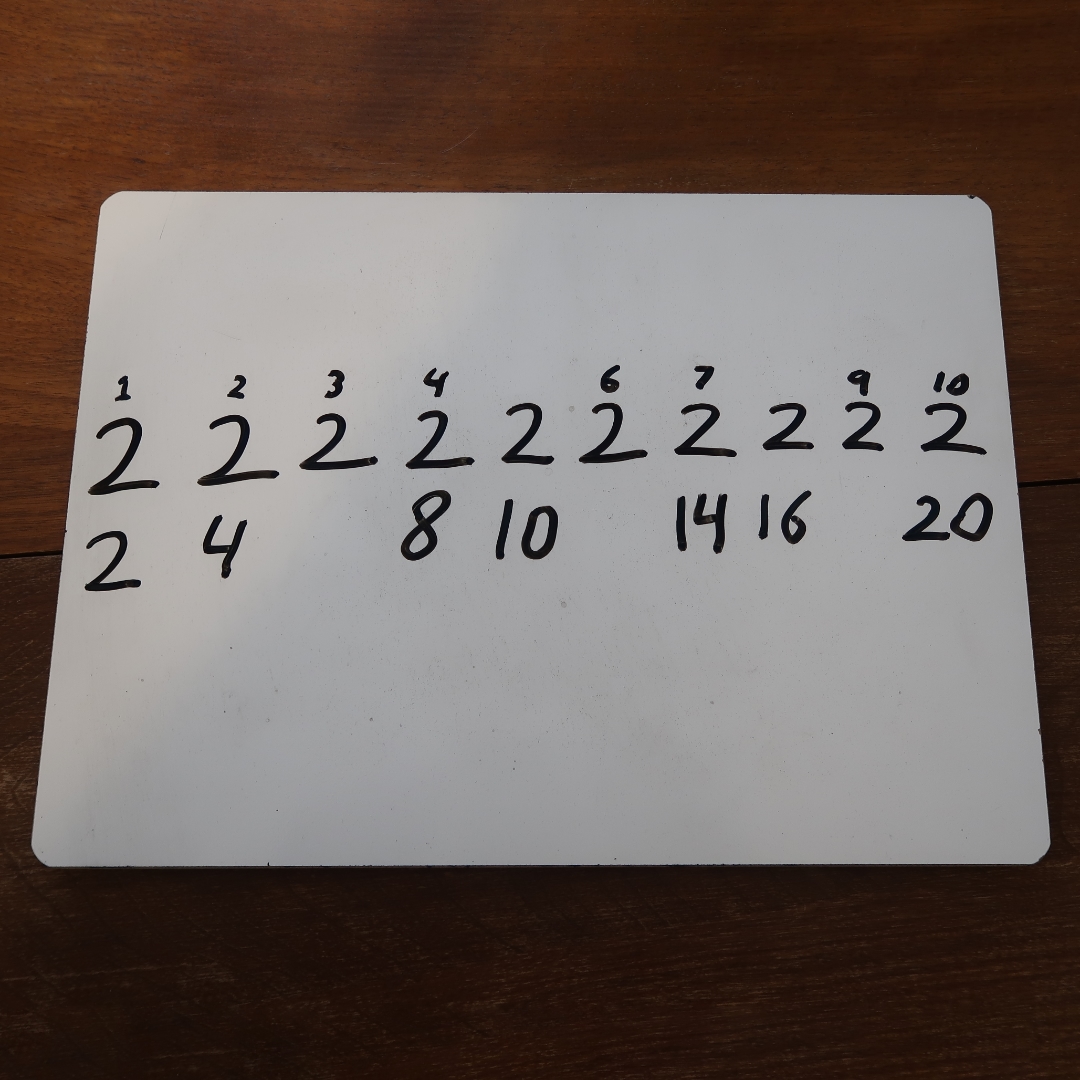
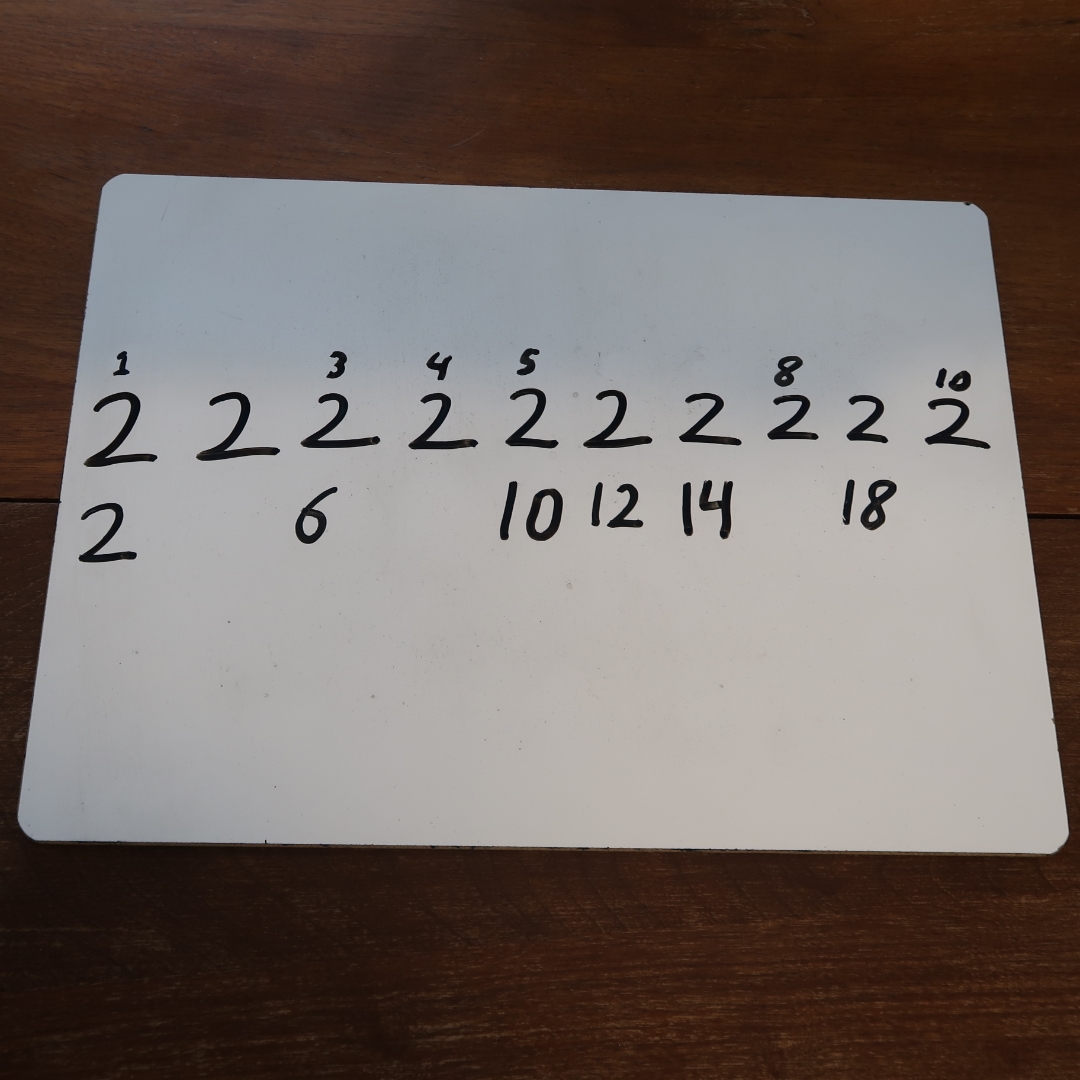
Have your child say the table through again. Now erase different numbers and allow him to fill the table in again, then have him repeat the table aloud once more. For example:
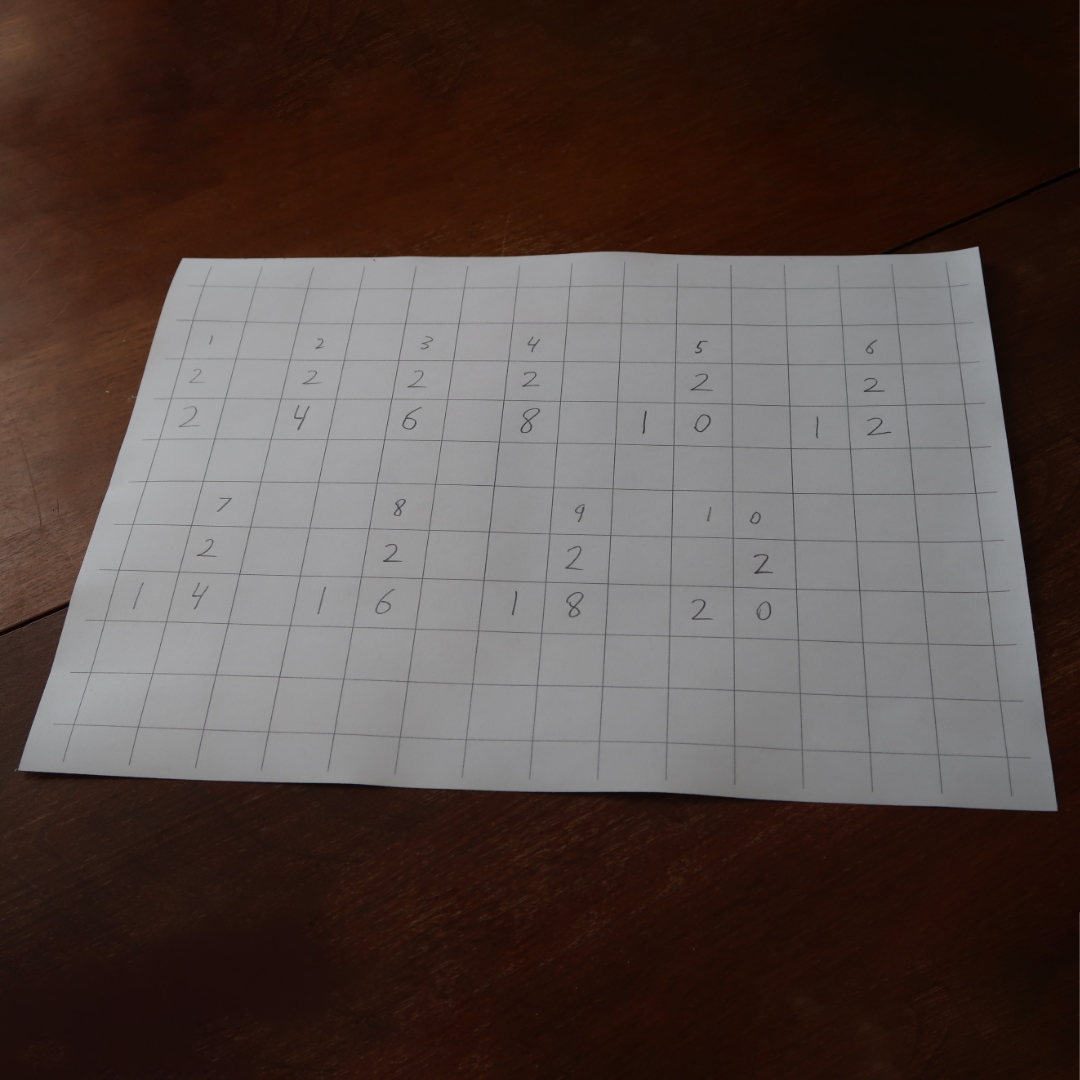
Have the child write the table in his gridded math notebook, turned in a horizontal position, for ease in referral and as an aid in committing it to memory. As he writes his table, be sure he pays attention to neatness and keeping the proper place value with one number per grid square.
Step 3: Practice with Table Work until learned
The next step is to give your child a variety of questions. Give only as many as you are able in the time allotted. Questions may be spread out over a few days. He may refer to his written table until it is learned by heart.
- Three 2s are?
- How much is 2 taken 5 times?
- 2 taken 7 times is?
- How many 2s in 12?
- How many 2s in 16?
Note: Questions such as these serve as an introduction to division while also showing division as the complement of multiplication.
- How much do 7 marbles cost at 2¢ each?
- Each duck had 2 ducklings. If there are 3 ducks, how many ducklings are there?
- Find the cost of 2 gummy bears at 8¢ each.
- How many $2 pizza slices am I able to buy with $12?
- How many 2s make 8?
- 2 x 4 is?
- How many 2s in 14?
Each multiplication table will be learned by heart using the same steps, with the work being steady and deliberate. In Charlotte’s schools, tables through 6 were learned the second year of lessons (our grade 2) and tables 7-10 (or 7-12) were taken the following year (our grade 3). Be sure to work with the table in a variety of ways—not merely having your child parrot it in consecutive order.
Here is a simple outline of the steps you will follow. As your student progresses you may determine if any steps may be omitted.
- Construct the table.
- Say the table and write it.
- Practice with Table Work (and review previous tables) until learned.
- Work with larger multiplication for that table (done with coins).
Keep in mind that lessons should last no longer than 20 minutes at this state, including 5 minutes given to mental math at some point in the lesson. This oral review may include include addition, subtraction, and multiplication covered so far.
At this point, your child may have moved past the need to create a table using concrete objects. If so, she might construct a table with dots or hash marks on graph paper before advancing to making the written table, or she may proceed directly to the construction of the written table. It’s going to be up to you whether to include this concrete activity as future tables are learned. Some students may need to see the concept only once; others may benefit from repeating the activity for each table studied.
Remember, the use or disuse of manipulatives should never cause worry or anxiety, so feel free to put them away or get them back out as needed. If your child needs more work with a particular table, allow plenty of practice using both the written table (including the steps laid out for visualization of the table) and mental work. The variety of questions together with the experimental work of multiplying the current number being worked on with larger numbers—before moving to the next table—can help ensure lessons remain interesting.
A few other ways to solidify multiplication facts are
- Mental Math. If you’ve read our post about mental math, you’ll remember a distinguishing characteristic of Charlotte Mason Math is the 5 minutes of scheduled mental arithmetic each day. Since arithmetic lessons are mainly oral at this stage and require mental work, this activity is somewhat set apart by giving questions in a rapid, lively fashion to fix attention while promoting a child’s promptness and concentration.
- While the child is learning her tables, multiplication can be part of the time set aside for mental math, but you’ll also want to include a variety of different questions to keep it interesting. For example, questions that involve more than one operation, such as: Charlotte picked 8 tulips. She gave 5 away, then picked 3 more, how many has she now?
Number Sentence Cards
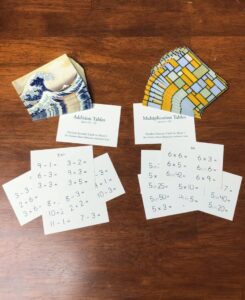
Before a lesson begins, pull out a card or two for additional practice of previously-learned tables. If you unexpectedly need to attend to something else for a few minutes, give your child the selected cards so she may continue working on her own without interruption. She should complete the number sentences, using manipulatives if needed, and write the answers on a dry erase board or in her math notebook. If your lesson wasn’t interrupted, feel free to use them for the “pure number” part of your mental arithmetic.
When to advance
Each child is unique and no book can determine the amount of time or exact number of equations needed for your child to gain complete fluency with her multiplication facts.
In general, tables through 6 are taken in 2nd year and 7-10 (or 12) are taken in the 3rd year, but we always want to progress at a pace that ensures each step is taken on solid ground.
Your child might move a bit more quickly through certain tables (like the 2s table and the 5s table) but take longer with others. This is perfectly normal. Consistency in daily table work, mental math, and using the Number Sentence cards are keys to progress. When a child no longer needs to use her written tables, she’s ready to advance to the next table.
Your child’s progress should always be measured against herself only. We’ve all heard the quote “Comparison is the thief of joy.” Take care not to compare your child’s progress in learning her math facts to that of her sibling, neighbor, cousin, etc. or measure her against arbitrary standards that don’t take the uniqueness of every child into consideration. These types of comparisons can severely undermine a child’s confidence.
Even children who grasp math concepts quickly and seem to have an innate sense of numbers might take more time to learn their tables.
We don’t want our children to become frustrated, bored, or lose confidence in her abilities.
If you’ve followed the steps laid out here using concrete and written table work, and you are convinced your child has spent a good amount of time on a table, you may move on to the next table or concept while continuing to have daily consistent math lessons that include the important time of mental math review.
In conclusion
This is a foundational time for your child. Give her plenty of opportunity to investigate, discover patterns, and make connections with each table. Advance to the next table when the child has mastered the table, while providing the important time of mental math and review of tables learned to help the facts become fully internalized and build speed.
Again, there is no “royal road” to learning the multiplication tables. It does take effort. Don’t give up too soon, but, if your student has worked sufficiently with a table but still hasn’t learned it by heart, continue to the next concept while providing daily mental math that includes a good amount of work with multiplication facts.
These methods prepare the child to learn the facts in the “best way possible” and provide the groundwork necessary as she progresses to more advanced arithmetic.
Podcast: Play in new window | Download
Podcast (podcastv): Play in new window | Download
I was wondering if you have a post like this for helping children learn addition and subtraction facts? My almost 8 year old is still really struggling with these facts and it feels like we are stuck. Do you have any tips or strategies to help us?
Hi Melanie,
You might want to watch the podcast here on Mental Math as well as download the free samples for Book 1 and Book 2 of the Charlotte Mason Elementary Arithmetic series found in the SCM Bookstore on this site for all the details on learning those facts. The Number Sentence Cards are also quite helpful.
Richele
I’d like to hear a little about the multiplication with larger numbers sections after the introduction of the tables in books 2 and 3. I think they are there to give the student a head start on the concepts of adding multiplied numbers together, eg showing with coins 15*5= 25 units plus 5 tens = 2 tens and 5 units plus 5 tens = 7 units and 5 tens = 75, but when we first started this it felt like a huge jump. Maybe it’s important not to try to introduce vertical notation for this yet? And maybe only after the table is learnt by heart?